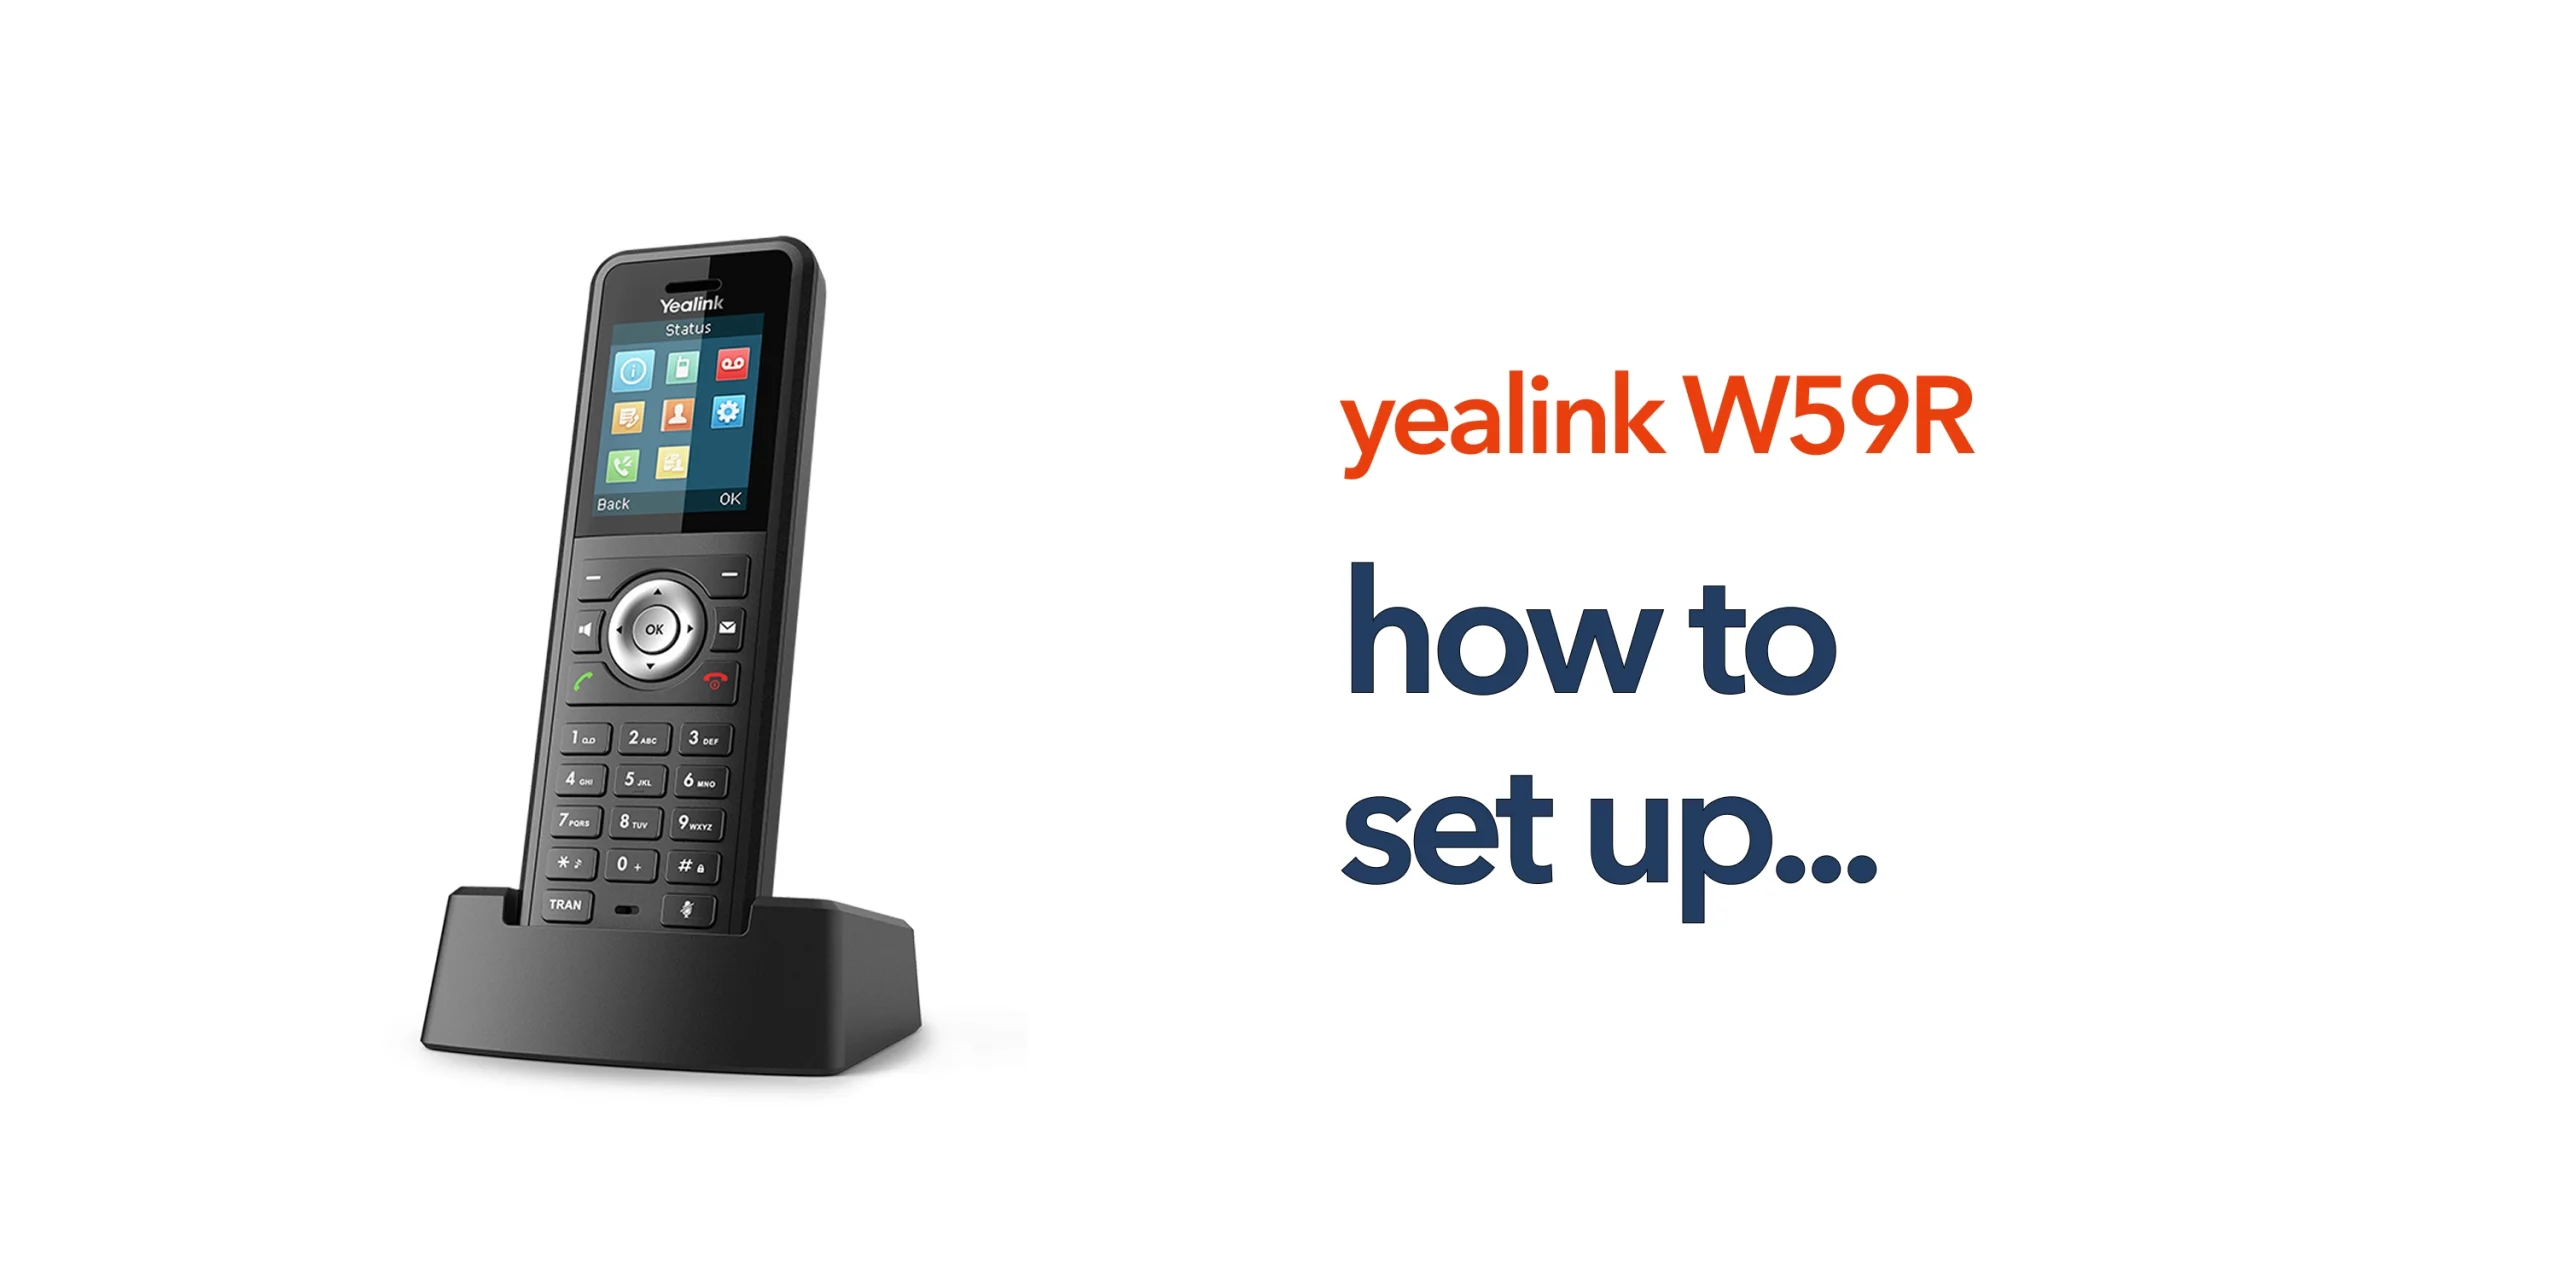
A proper Yealink W59R setup is essential to ensure reliable communication from day one. While the process itself is relatively straightforward, it forms a critical part of your wider business telecoms environment, including your network, cloud telephony platform, and overall device configuration. Getting this right from the start helps avoid disruptions and ensures your system performs as expected.
The Yealink W59R is a DECT-based wireless handset designed for Voice over Internet Protocol (VoIP) systems, meaning it does not operate independently. It connects through a base station and relies on your business internet connection and VoIP configuration to handle calls. This makes network stability and correct setup just as important as the device itself.
Taking a structured approach to your Yealink W59R setup helps reduce common issues such as poor call quality, dropped connections, or registration errors. It also ensures your handset integrates smoothly with your business phone system, supporting reliable, day-to-day communication as your organisation grows.
What You Need Before You Start
Before beginning your Yealink W59R setup, it is important to have the right components and information in place. Preparing these in advance helps ensure a smooth installation process and reduces the risk of configuration issues later. You will need:
- A compatible DECT base station (such as the Yealink W70B)
- Access to a stable business broadband or network connection
- SIP credentials provided by your cloud telephony provider
- Power supply and Ethernet connection for the base station
Having these elements ready ensures your Yealink W59R setup can be completed efficiently, with minimal disruption to your business operations.
Step-by-Step Yealink W59R Setup
Setting up the Yealink W59R follows a clear sequence, starting with the base station and ending with call testing. Each step plays a role in ensuring your device connects properly to your VoIP system. Following the process in order helps avoid common configuration issues.
Step 1: Connect the Base Station
Start your Yealink W59R setup by connecting the DECT base station to your network using an Ethernet cable. This creates the link between your handset and your wider VoIP phone system. Plug the base station into your router or network switch, connect the power supply, and allow the device to fully initialise. This step is essential, as the base station acts as the bridge between your handset and your cloud telephony platform.
Step 2: Register the Handset
Once the base station is active, the next step is to register your Yealink W59R handset. Power on the handset, navigate to the registration settings, and select the base station to pair the device. In most cases, the handset will automatically detect the base station if it is within range, making the process quick and straightforward.
Step 3: Configure SIP Credentials
To enable calling, you need to configure your SIP account details through the base station. Access the base station’s web interface, enter your SIP username, password, and server details, and then assign the account to the handset. These credentials are provided by your VoIP or cloud telephony provider and are what allow your device to make and receive calls.
Step 4: Test Call Functionality
After completing the configuration, test the system to ensure everything is working correctly. Make an outbound call, receive an inbound call, and check both audio quality and signal strength. This final step confirms that your Yealink W59R setup is fully operational and ready for business use.
Optimising Your Setup for Business Use
Once your Yealink W59R setup is complete, a few adjustments can significantly improve performance and reliability. Optimising your setup helps ensure consistent call quality and better day-to-day usability, allowing your system to perform effectively in a real business environment.
This includes maintaining a stable network connection, as your Yealink VoIP phone relies on reliable business internet to avoid call drops, latency, and reduced audio quality. It is also important to position the base station correctly, as DECT coverage depends on placement, and a central location helps ensure a consistent signal across your workspace. In addition, configuring your call routing properly within your business phone system improves response times and ensures calls are directed to the right people without delay.
Common Setup Mistakes to Avoid
Even a simple Yealink W59R setup can lead to issues if key steps are overlooked. Small mistakes during installation often result in poor call quality or unreliable performance. Being aware of these common problems helps ensure your system runs smoothly from the start.
- Ignoring Network Quality: A weak or unstable connection will affect every aspect of your VoIP system, leading to dropped calls and poor audio quality. Always ensure your business internet is reliable and suitable for VoIP use.
- Incorrect SIP Configuration: Entering incorrect SIP details is one of the most common setup issues. Double-check your credentials and server settings to avoid registration or calling problems.
- Poor Base Station Placement: Incorrect placement of the base station can lead to weak or inconsistent DECT signal coverage, particularly in larger or multi-level buildings. Positioning it correctly is essential for reliable performance.
Why Proper Setup Matters
A correct Yealink W59R setup is essential for ensuring reliable call quality, consistent connectivity, and efficient communication across your business. When configured properly, the device works as expected without interruptions, helping your team stay connected throughout the working day.
More importantly, a well-executed setup ensures your handset integrates seamlessly with your wider telecommunications infrastructure, including your VoIP system, network, and cloud telephony platform. This creates a stable and dependable communication environment that supports your business as it grows.
Get Expert Help with Your Setup
While the Yealink W59R setup process is straightforward, many businesses benefit from professional support to ensure everything is configured correctly from the start. A properly configured system reduces the risk of call quality issues, connectivity problems, and unnecessary downtime. If you are upgrading your business phone systems or moving to VoIP, getting the setup right early on can save time and avoid complications later. Our team can help ensure your Yealink W59R setup is aligned with your network, cloud telephony platform, and business requirements, so it is ready for reliable day-to-day use.
FAQs
Do I need a base station for the Yealink W59R setup?
Yes, the W59R requires a compatible DECT base station to connect to your network.
Can I set up the Yealink W59R without VoIP?
No, the device is designed for VoIP systems and requires SIP credentials.
How long does the Yealink W59R setup take?
Typically 10 to 30 minutes, depending on configuration and network readiness.
What causes setup issues with the W59R?
Common causes include incorrect SIP details, poor network quality, and improper base station placement.