As UK businesses continue to move away from traditional landlines, modern VoIP phone systems have become essential for improving communication, efficiency, and flexibility. Devices such as the Yealink W76P make it easy to introduce wireless communication across offices, retail environments, and multi-site organisations, providing mobility without sacrificing call quality or reliability. Although the W76P is designed for straightforward deployment, proper Yealink W76P setup still requires a few essential steps to ensure the system functions optimally. Correct configuration not only guarantees reliable connectivity and high-quality voice calls but also allows multiple handsets to work seamlessly with a single base station, supporting growing teams and flexible workplace layouts.
This step-by-step guide walks you through the Yealink W76P setup, including installation, configuration, and handset registration, ensuring your team can start making calls quickly and efficiently while maximising the benefits of a modern, wireless business telephone system.
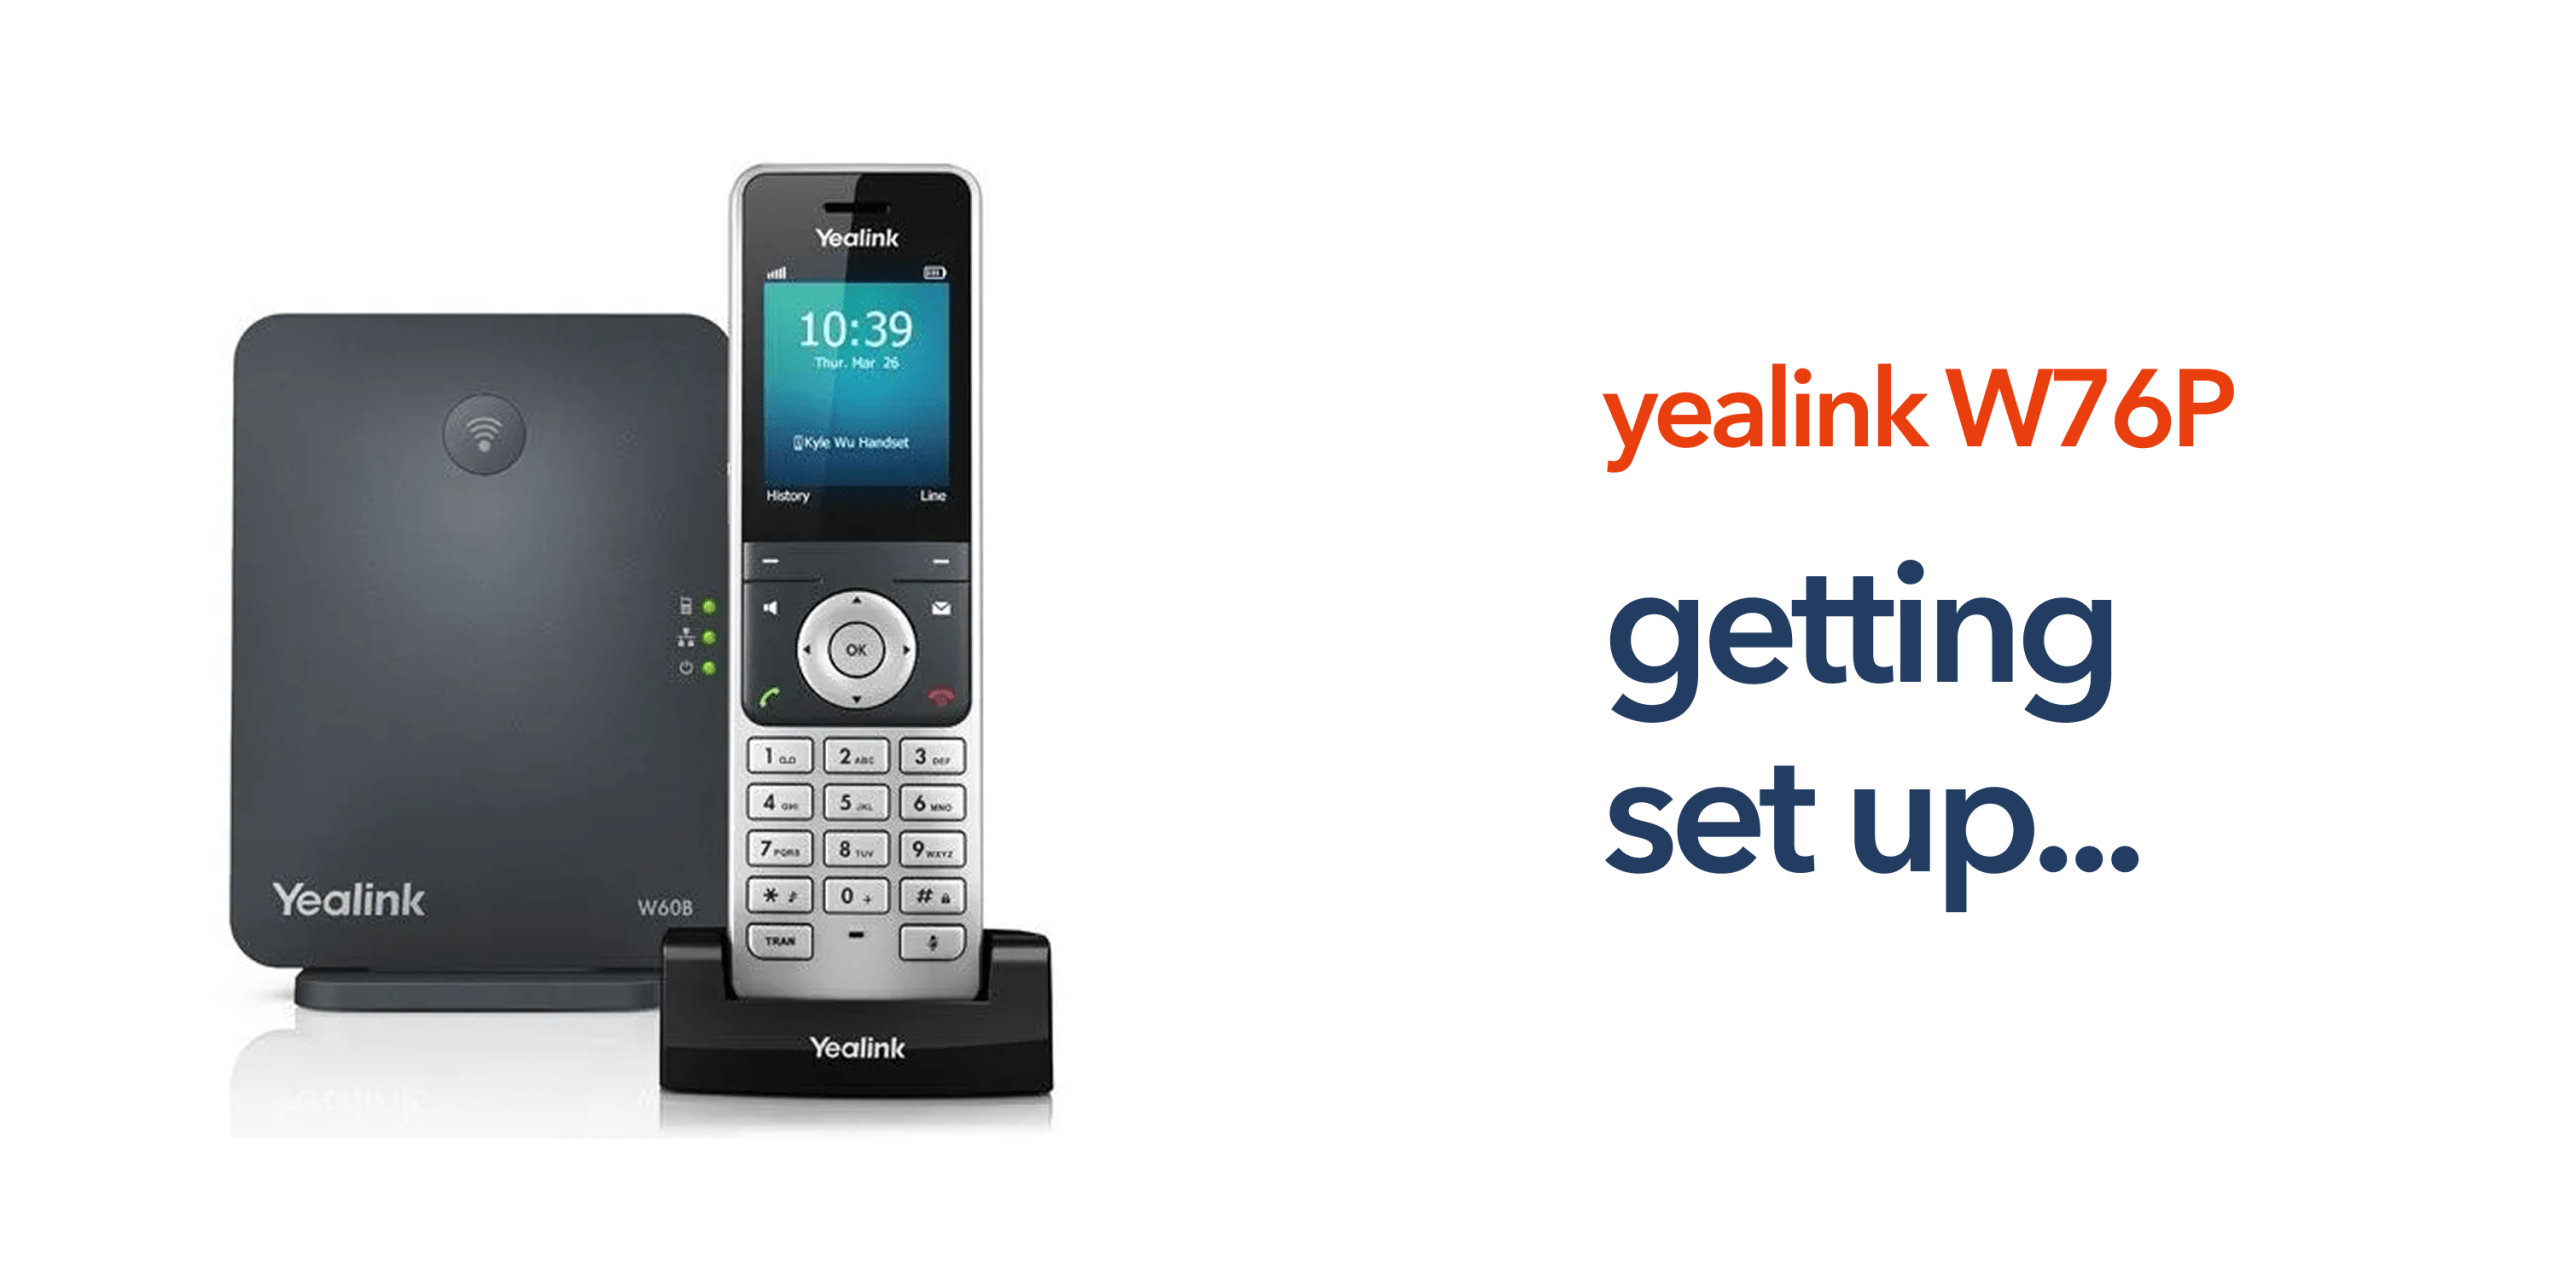
What the Yealink W76P Includes
Before starting the Yealink W76P set up process, it helps to understand the main components included with the device. A typical package includes:
- W70B DECT base station
- W56H cordless handset
- Power adapter
- Ethernet cable
- Handset charging cradle
- Rechargeable battery.
The base station connects to your network, while the handset communicates wirelessly using digital enhanced cordless telecommunications (DECT). Together, they form a wireless VoIP business phone suitable for modern cloud telephony environments.
Step 1: Connect the Base Station to Your Network
The first step in the Yealink W76P setup process is connecting the base station. Begin by plugging an Ethernet cable into the LAN port on the base station and connecting the other end to your network router or switch. Next, attach the power adapter and turn on the device. Once powered, the base station will connect to your business’s internet, enabling communication with your VoIP phone system. Most devices automatically obtain a network address using DHCP, ensuring a seamless connection without additional network configuration.
Step 2: Prepare the Handset
Next, prepare the handset for use by inserting the rechargeable battery and placing the device into its charging cradle. Allow the battery to fully charge before first use to ensure optimal performance. The handset communicates wirelessly with the base station using DECT technology, providing reliable connectivity and the freedom for employees to move around the workplace while staying connected to calls.
Step 3: Register the Handset With the Base Station
During the Yealink W76P set up process, the handset must be registered with the base station. In most cases, this happens automatically when the handset is powered on. If not, follow these steps:
- Press the “OK” button on the handset.
- Navigate to “Settings”.
- Select “Registration”.
- Choose “Register Handset”.
- Press the “Paging” button on the base station.
Once paired, the handset will connect to the base station and become part of your business phone system.
Step 4: Configure VoIP Account Settings
To make calls, the Yealink W76P system must be connected to a VoIP phone service. Most telecom providers supply the necessary configuration details, which typically include the SIP server address, extension number, authentication username, and password. These settings can be easily entered through the base station’s web interface, allowing the system to register with the provider and begin handling calls efficiently. To access the interface:
- Find the IP address of the base station.
- Enter the address into a web browser.
- Log in to the management interface.
- Enter the VoIP account credentials provided by your telecom provider.
Once saved, the device connects to your cloud telephony platform.
Step 5: Test Your Connection
After completing the Yealink W76P setup, it is important to test the system to ensure everything is functioning correctly. Verify that you can make outbound calls, receive incoming calls, and transfer calls between handsets, while confirming that audio quality is clear and reliable. Once these checks are complete and the system performs as expected, your wireless phone system is ready for daily use, providing a flexible and efficient communication solution for your workplace.
Step 6: Add Additional Handsets (Optional)
The W76P base station supports multiple cordless handsets, allowing businesses to expand their phone system as teams grow. To add additional handsets, simply power on the new device, access the registration settings, and register it with the base station. Once registered, the handset communicates seamlessly with the system, providing the same mobility and functionality as existing devices and ensuring your wireless phone network can scale alongside your organisation.
Common Setup Issues and How to Fix Them
Most installation problems during the Yealink W76P set up process are easy to resolve.
Handset Will Not Register: Ensure the base station is in registration mode, and the handset is within wireless range.
No Internet Connection: Confirm the base station is connected to your router and your business broadband is active.
Calls Not Connecting: Check that the VoIP account settings provided by your telecom provider are entered correctly.
Reliable VoIP Systems With circle.cloud
Correct installation is only part of a successful telecom system. Reliable communication depends on the infrastructure behind the device. circle.cloud helps UK businesses deploy modern cloud telephony, VoIP phone systems, and business broadband that support devices such as the Yealink W76P. Our focus is simple: reliable communications without unnecessary complexity.
If your organisation is upgrading from the public switched telephone network (PSTN) or preparing for the UK landline switch-off, our team can help you deploy a system that works for the long term. Speak to our experts today and modernise your business telecoms.
FAQs
How long does Yealink W76P set up take?
For most businesses, the Yealink W76P set up process takes around 10 to 20 minutes once the VoIP account details are available.
Does the Yealink W76P require internet?
Yes. The device operates using Voice over Internet Protocol, so it must connect to a network with active Internet access.
Can multiple handsets connect to the W76P base station?
Yes. The base station can support several cordless handsets, making it suitable for small and growing businesses.
Is the Yealink W76P suitable for SMEs?
Yes. Many SMEs use the W76P because it offers a reliable wireless business phone system that integrates easily with modern telecom platforms.
Does the Yealink W76P work with cloud phone systems?
Yes. The device is designed to integrate with cloud telephony platforms used by modern business telecom providers.