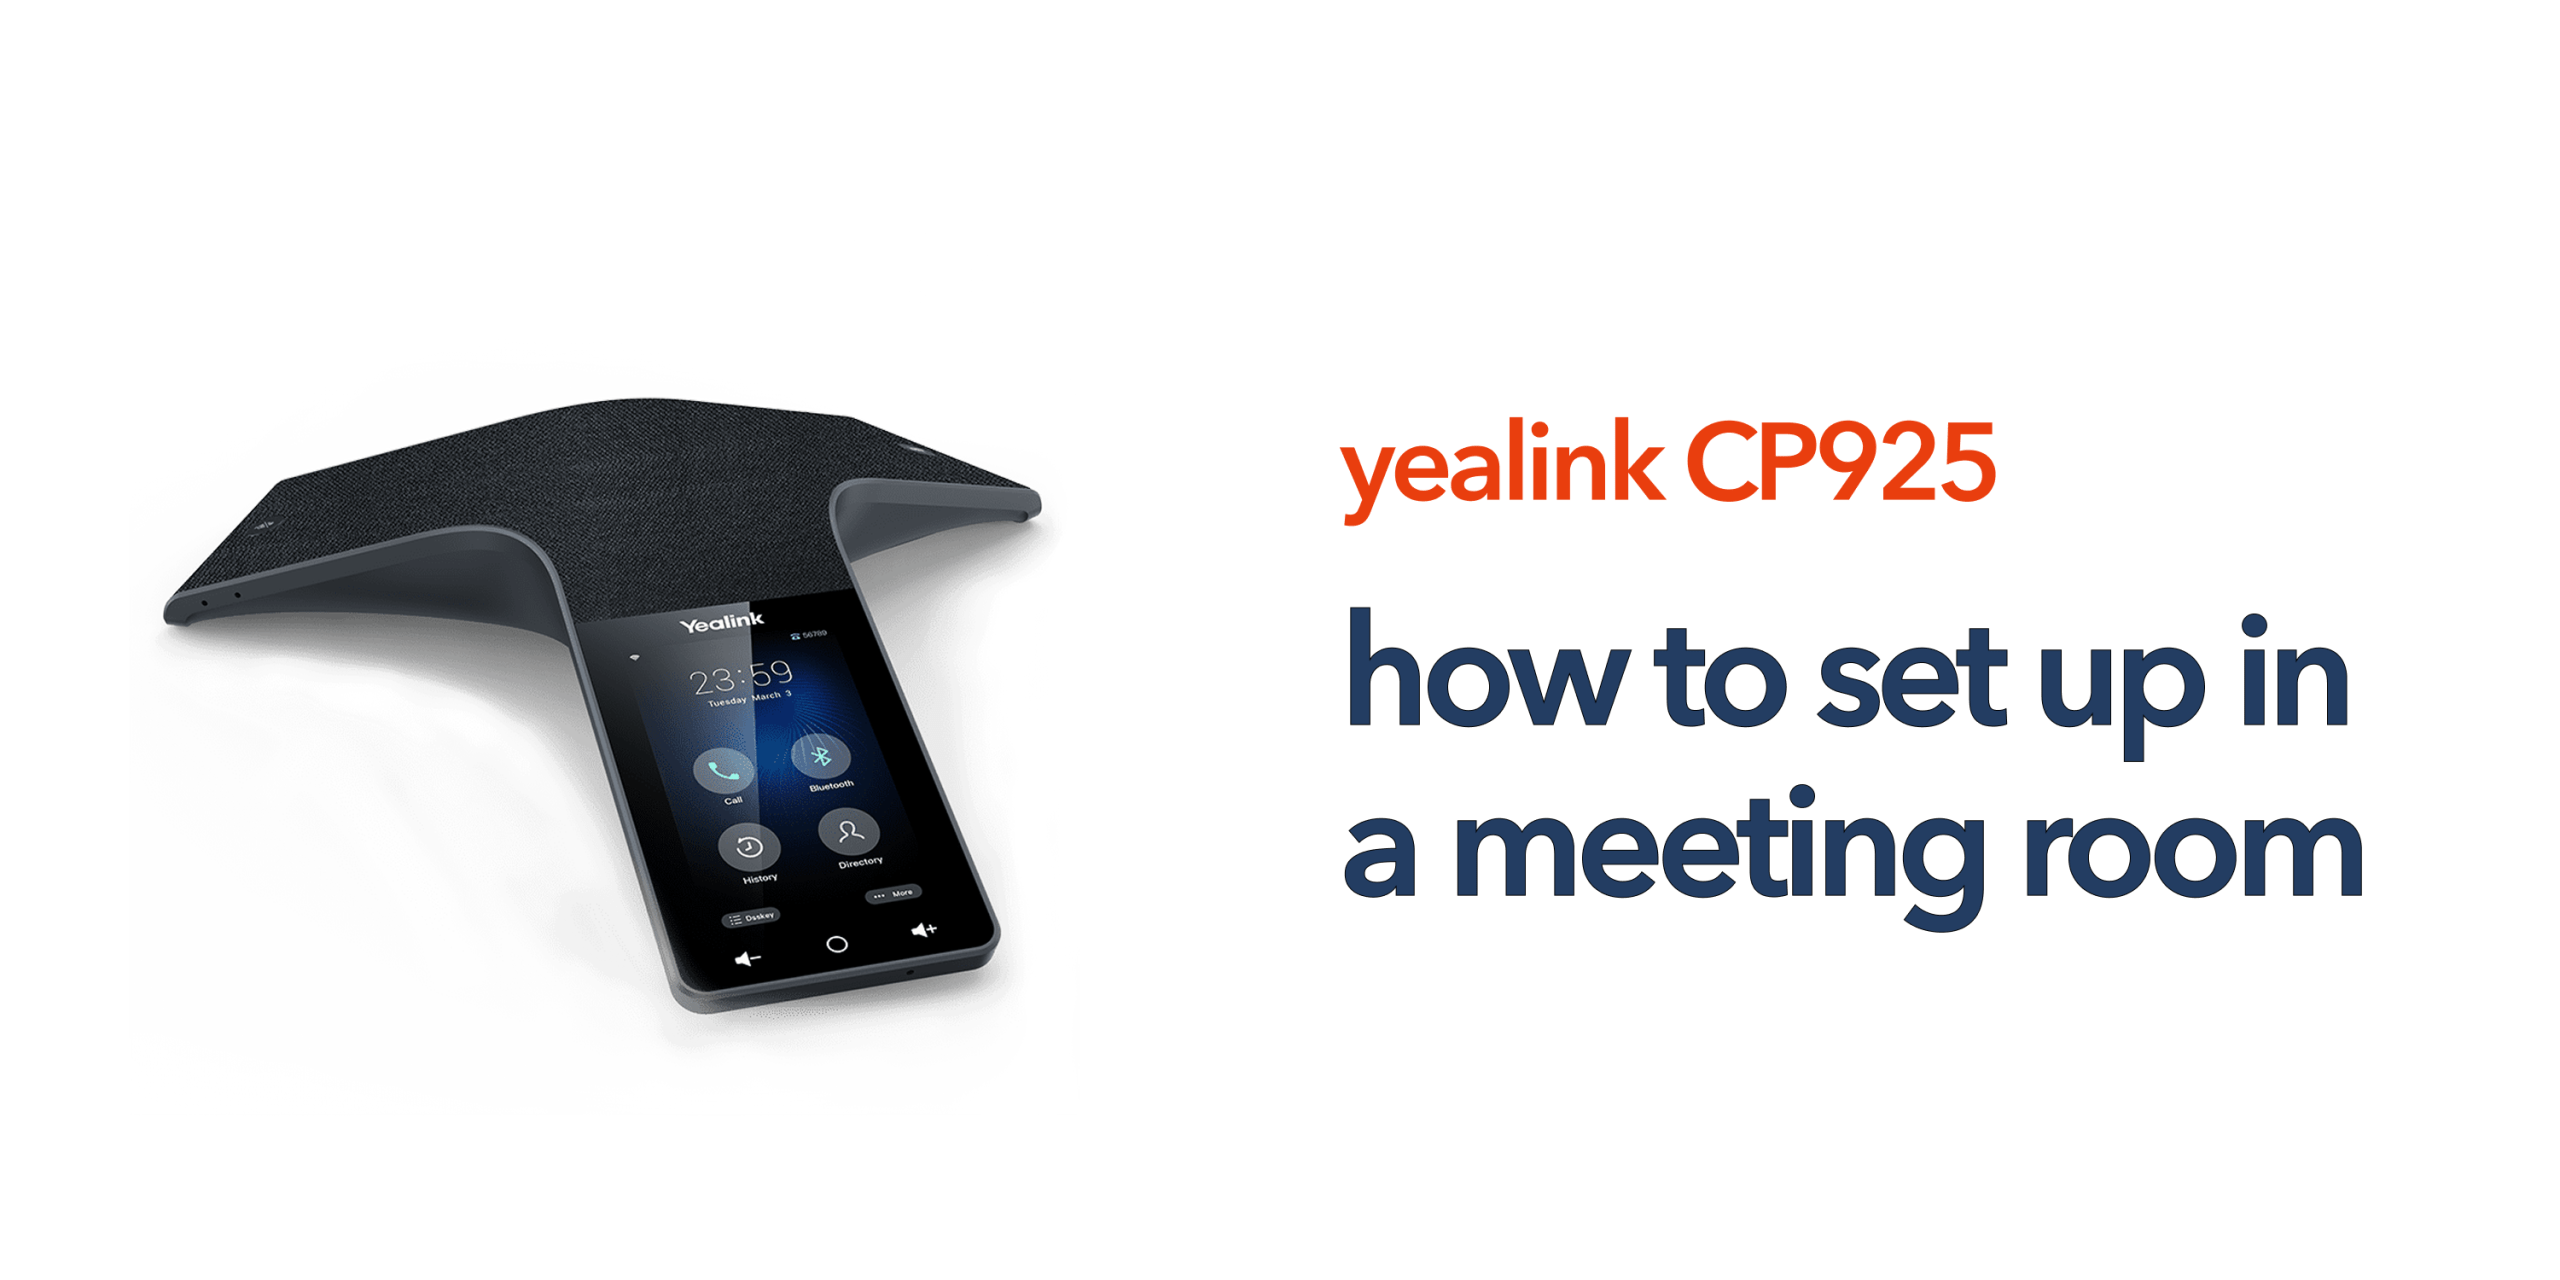
Setting up a conference phone should be straightforward, but in many businesses it becomes unnecessarily complex due to unclear instructions, network configuration issues, or devices that do not integrate smoothly with existing phone systems. These challenges often delay meetings and reduce overall productivity.
The Yealink CP925 is designed to avoid these problems with a simple and intuitive setup process. With the right configuration, it can be fully operational within minutes, making it suitable for fast-paced office environments and shared meeting spaces.
This guide walks you through the step-by-step process to set up Yealink CP925 in a meeting room, ensuring optimal performance and seamless integration with your communication system.
What You Need Before You Start
Before setting up the Yealink CP925, it is important to prepare all required components and access details. Having everything ready in advance helps avoid setup delays and ensures a smooth installation process. You will need:
- A Yealink CP925 conference phone
- A power supply or a PoE-enabled network connection, depending on your office setup
- An Ethernet cable, if you are using a wired network connection
- Access to your VoIP or SIP account credentials for system registration
- A stable and reliable internet connection for uninterrupted communication
If your business uses a hosted phone system, your service provider will usually supply the necessary configuration details, including SIP server information and login credentials. Having these ready beforehand ensures the device can be activated and integrated without interruptions.
Step 1: Position the Device Correctly
Proper placement of the Yealink CP925 has a direct impact on overall call quality and voice clarity. For best results in small to medium meeting rooms, the device should be placed in the centre of the table so it can evenly capture voices from all participants. It should also be positioned away from walls, corners, or large objects that may reflect or distort sound. Ideally, all participants should be seated at a similar distance from the device to ensure balanced 360-degree microphone pickup. To maintain clean audio performance, it is also recommended to avoid placing the unit too close to laptops, monitors, or other electronic devices that could introduce interference.
Step 2: Connect Power and Network
You have two main options for connectivity.
Wired (Recommended)
Connect the Ethernet cable to your network and use Power over Ethernet (PoE) if available. This provides the most stable connection and consistent call quality.
Wireless (Alternative)
The CP925 supports WiFi, which can be useful in rooms without network ports. However, make sure your WiFi is reliable and optimised for VoIP traffic. Once connected, the device will power on and begin initial setup.
Step 3: Access the Device Interface
After powering on the Yealink CP925, the device will boot up and display its home screen on the touchscreen interface. From this screen, you can access key functions such as system settings, network status, and initial account configuration.
For a more detailed setup, the device also provides a web interface. This can be accessed by entering the CP925’s IP address into a web browser once it is connected to the network. The web interface is typically used for advanced configuration tasks and is most often managed by IT teams or telecom service providers to ensure proper VoIP or SIP integration.
Step 4: Configure SIP or VoIP Account
This is the most critical step in setting up the Yealink CP925, as it connects the device to your business phone system. Without proper configuration, the conference phone will not be able to make or receive calls through your VoIP network.
You will need to enter the SIP or VoIP account details provided by your service provider, including:
- SIP username
- SIP password
- Registrar server address
- Outbound proxy, if required by your system
These settings ensure the device is properly registered on your VoIP platform, allowing it to function as part of your organisation’s communication system rather than a standalone unit.
Step 5: Test Call Quality
Before using the Yealink CP925 in live meetings, it is important to run a test call to ensure everything is working correctly. This helps verify audio clarity from different positions around the table, confirm the microphone pickup range, and adjust speaker volume levels for comfortable listening. You can place an internal or external test call to check both incoming and outgoing audio performance. Completing this step helps identify and resolve any potential issues early, before they affect real meetings.
Step 6: Optimise for Your Meeting Room
Once the basic setup of the Yealink CP925 is complete, the next step is to fine-tune it for your specific meeting environment. This may include adjusting volume levels for clearer output, setting ringtone preferences, configuring network settings, and enabling Bluetooth pairing if required. In rooms with noticeable background noise, further improvements can be made by adjusting microphone sensitivity or repositioning the device to achieve better voice capture and overall audio balance.
Common Setup Issues and How to Fix Them
Even with a straightforward device like the Yealink CP925, setup issues can sometimes occur. Most problems are minor and can be resolved quickly with a few checks.
- Device Not Connecting to Network: Check your Ethernet cable or WiFi credentials to ensure they are correct and securely connected. Also, verify that your network is configured to allow VoIP traffic, as restrictions can prevent the device from going online.
- SIP Registration Fails: Review your SIP username, password, and server details carefully. Even a small typing error or missing character can stop the Yealink CP925 from registering with your phone system.
- Poor Call Quality: This is usually related to network performance rather than the device itself. Ensure your internet connection is stable and that voice traffic is prioritised on your network to maintain clear and uninterrupted audio.
Why Proper Setup Matters
A poorly configured conference phone can quickly lead to dropped calls, inconsistent audio quality, and frustration for both teams and clients. These issues not only disrupt meetings but also reduce overall productivity and professionalism.
When the Yealink CP925 is set up correctly, it delivers clear and consistent communication, reliable day-to-day performance, and a more professional meeting experience for all participants. Instead of creating problems, it becomes a dependable part of your business communication system that teams can rely on without hesitation.
Should You Set It Up Yourself or Use a Provider?
For small or simple setups, installing the Yealink CP925 yourself is usually quick and straightforward, especially if your VoIP details and network are already properly configured.
However, in business environments, using a professional provider can offer added value. It helps ensure correct VoIP configuration, improves network performance, reduces the risk of downtime, and provides ongoing technical support when needed. This approach is particularly useful for multi-room or multi-site deployments where consistency and reliability are critical across all meeting spaces.
Final Thoughts
Setting up the Yealink CP925 does not require complex technical knowledge. With the right preparation, most businesses can get it running quickly. The key is not just connecting the device, but ensuring it works properly within your wider communication system. That is what delivers long-term reliability. If you want a hassle-free setup, working with a telecom provider can save time and avoid common issues.
Speak to our team for expert support in deploying and optimising your meeting room technology.